
How to Connect with QuickBooks
Managing invoices and client billing can be time-consuming, especially when using multiple platforms. To simplify this process, EasyEviction now offers integration with QuickBooks Online. This feature allows you to connect your accounts, link clients, and send invoices directly from EasyEviction to QuickBooks with ease. In this guide, you’ll learn how to set up the integration, link customers, and manage your invoices step by step.
Follow the steps below to set up the integration and start sending invoices directly to QuickBooks from your EasyEviction account.
Step 1: Connect EasyEviction to QuickBooks Online
1. Log in to your EasyEviction account.
2. Navigate to Admin Settings.
3. Under the Plugins section, select QuickBooks.
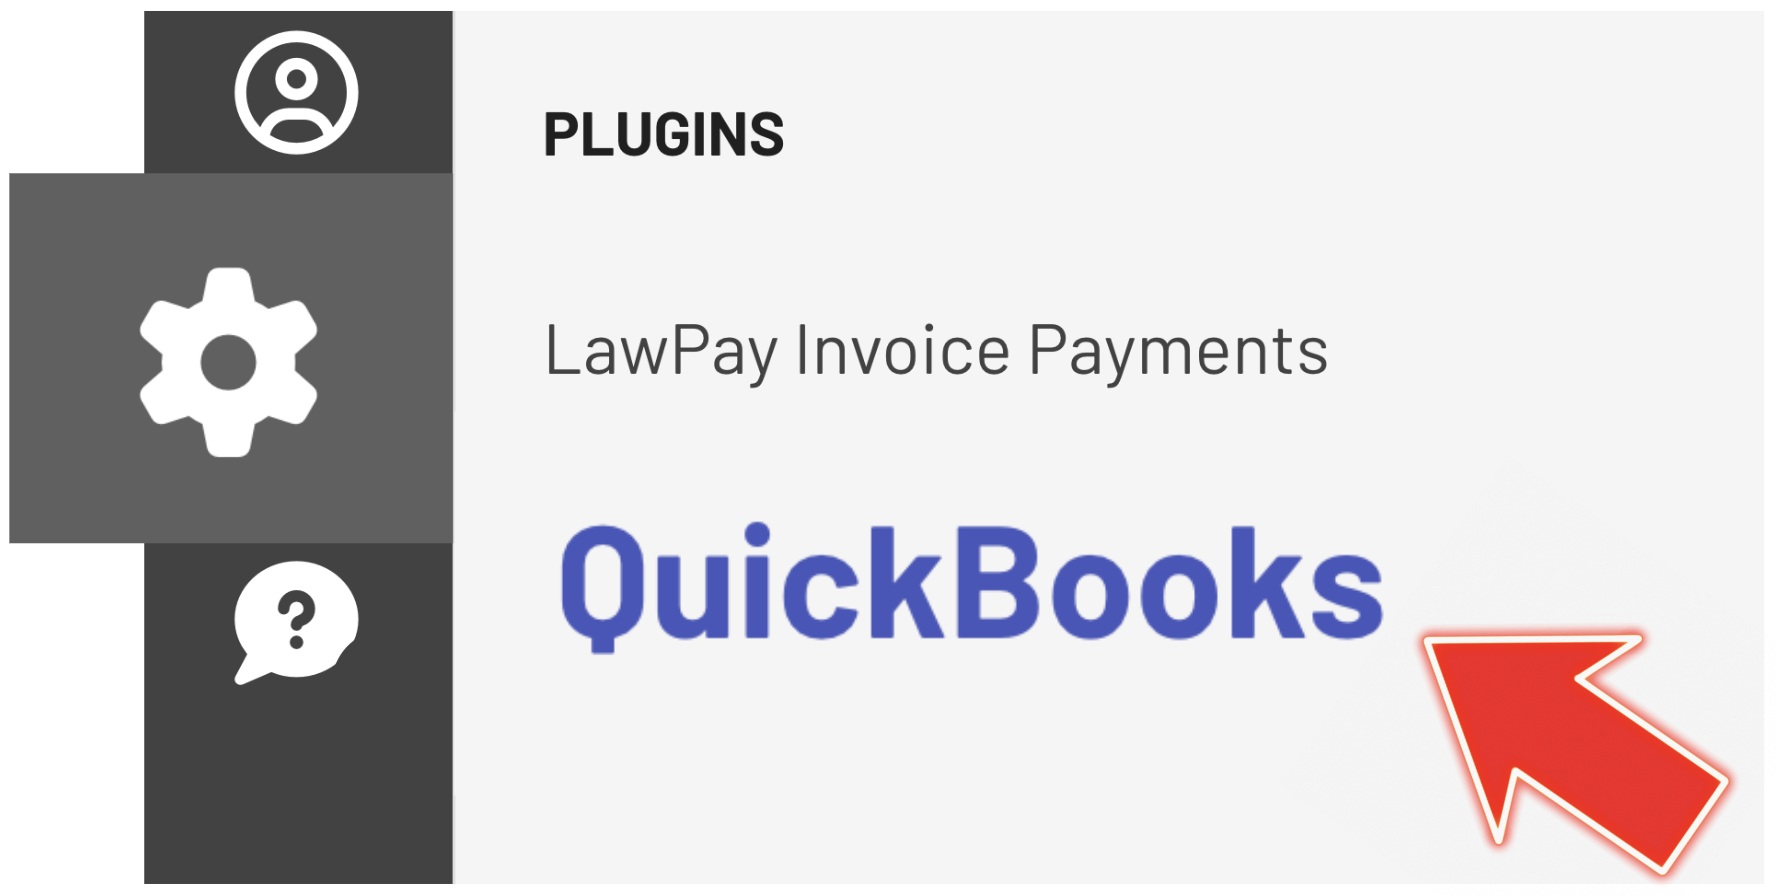
4. Click the green Connect button.

5. You will be directed to the official Intuit QuickBooks Online login portal.
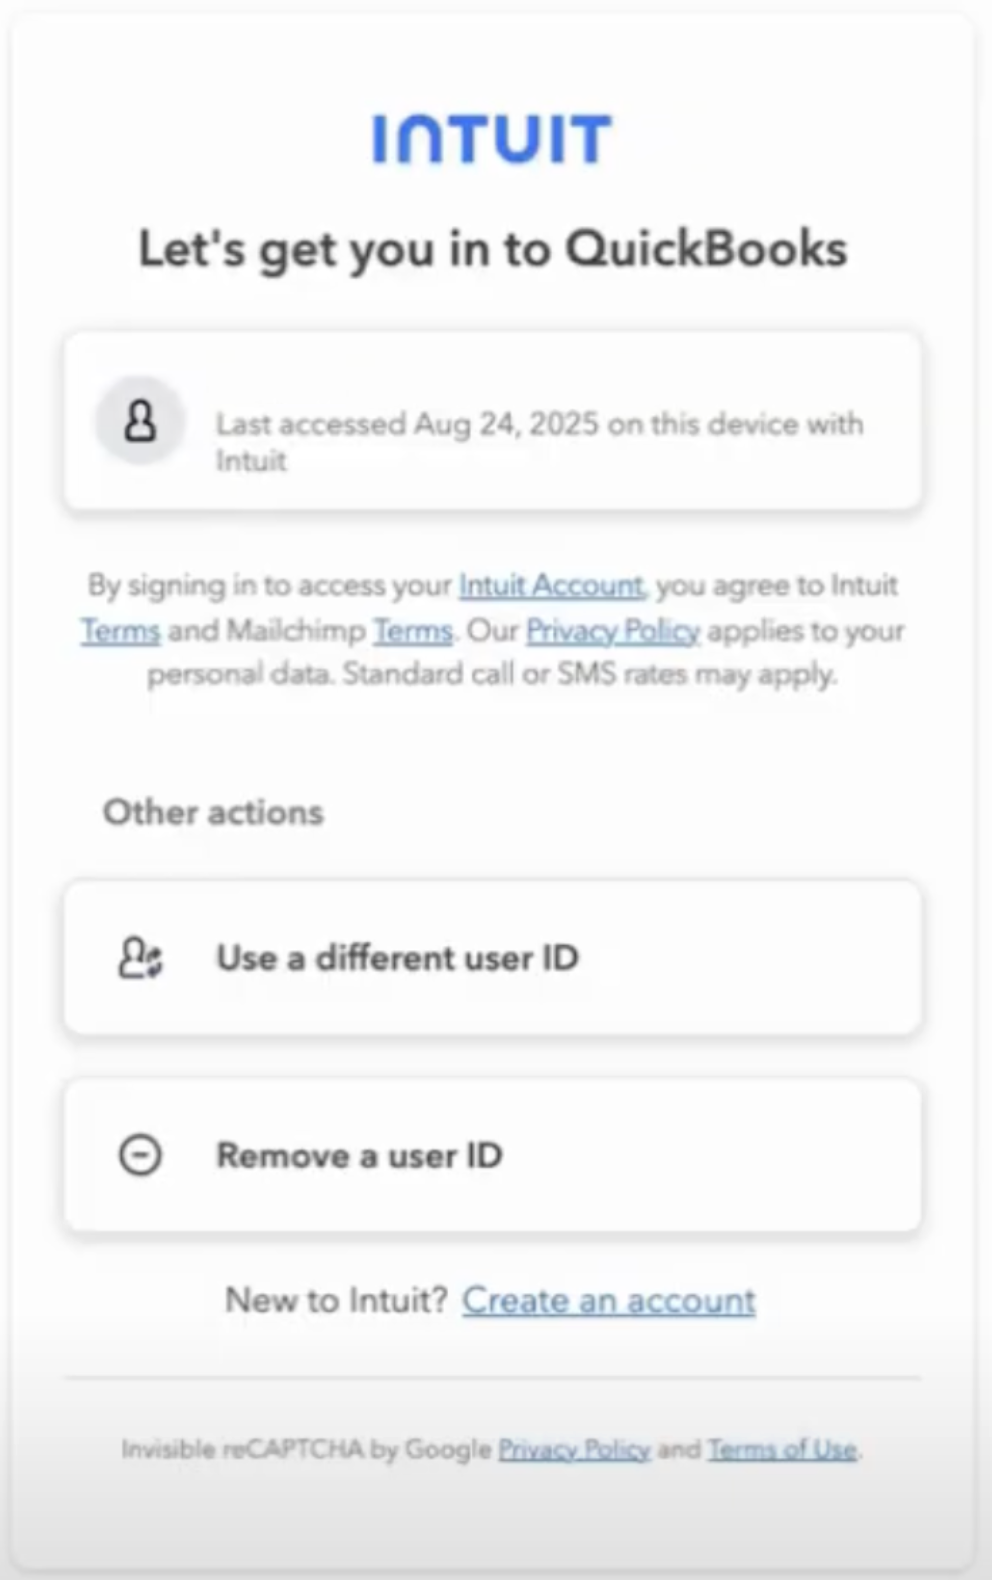
6. Log in to your QuickBooks account or create one if you do not have an existing account.
7. Once logged in, you will be redirected back to EasyEviction. A confirmation message will appear indicating that the integration is successful.

8. You will also see a green “Connected” status at the top of the page, confirming that the integration is active.
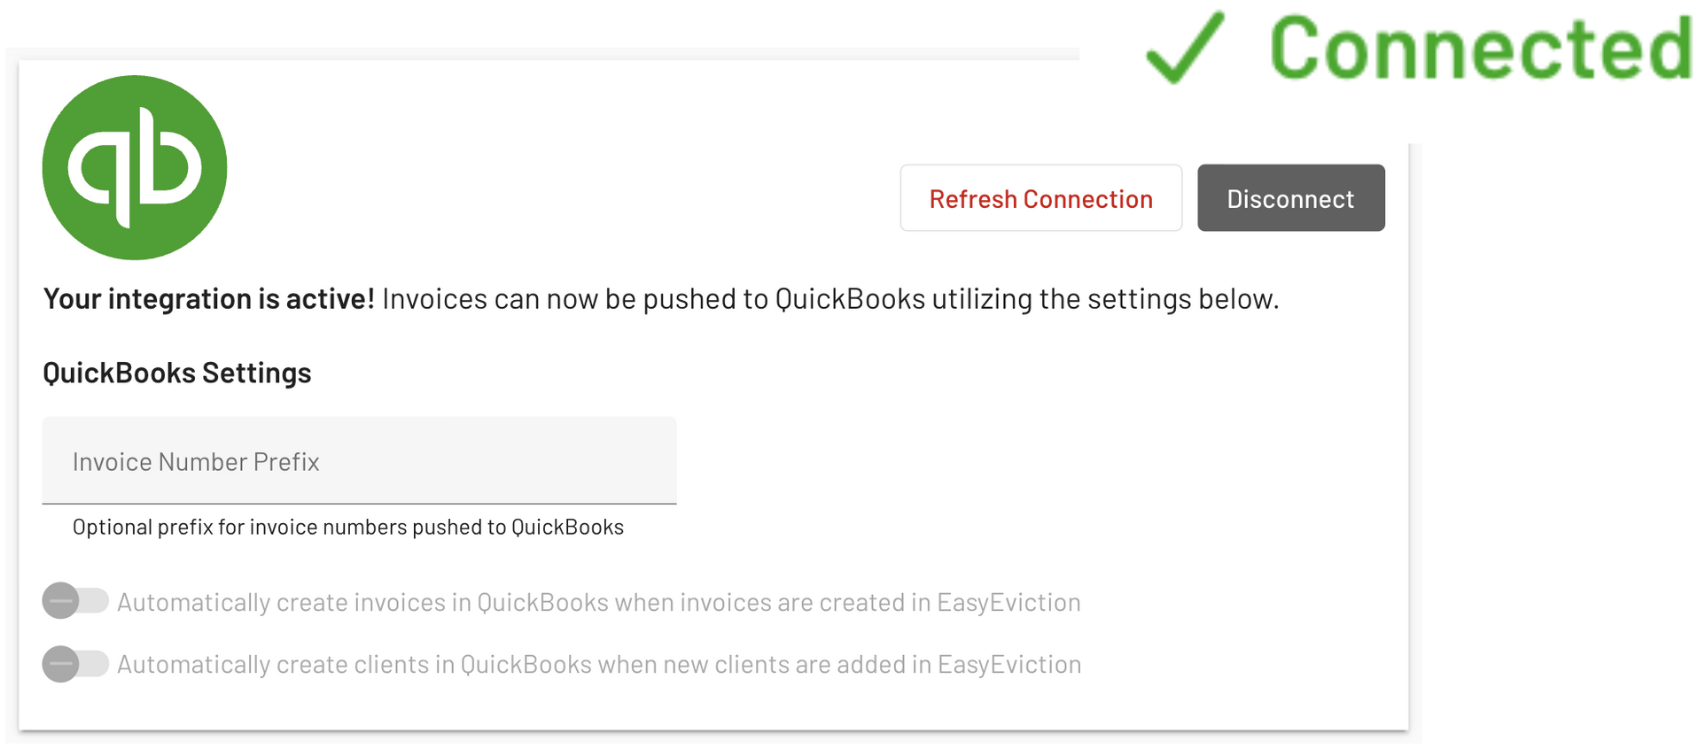
Once connected, invoices can be pushed from EasyEviction to QuickBooks using the available settings.
Optional: Set an Invoice Number Prefix
Within the QuickBooks settings section in EasyEviction, you may enter an optional invoice number prefix. This prefix helps identify and organize invoices that are sent from EasyEviction to QuickBooks.
Step 2: Link a Client in EasyEviction to a Customer in QuickBooks
Before sending invoices, you must first link a client in EasyEviction to the corresponding customer record in QuickBooks.
To do this:
1. Go to the Clients page in your EasyEviction account.
2. Select the appropriate client.
3. On the left-hand panel, click Search QuickBooks.
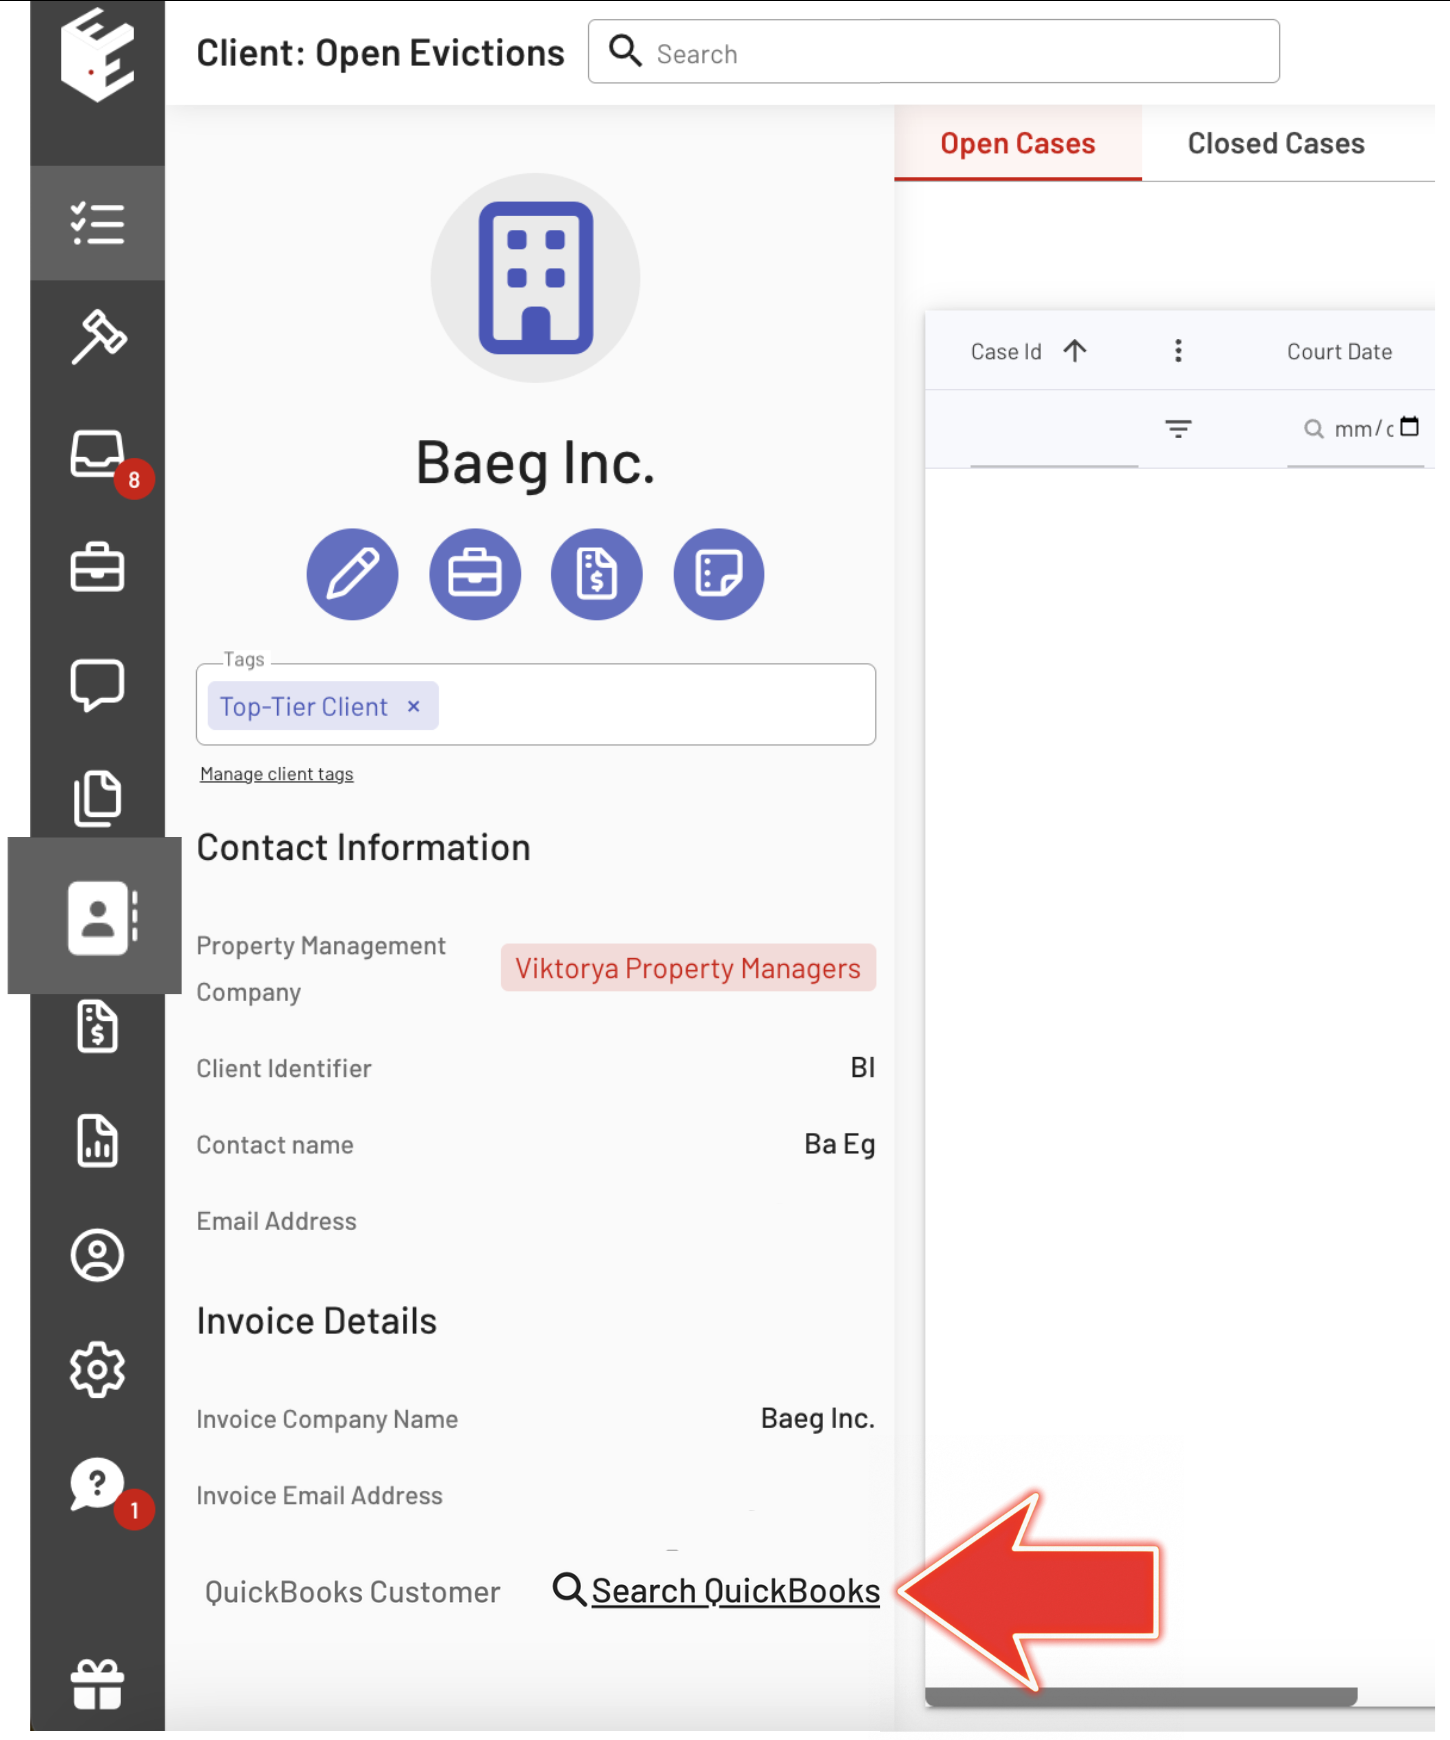
4. A pop-up form labeled Find a QuickBooks Customer will appear.
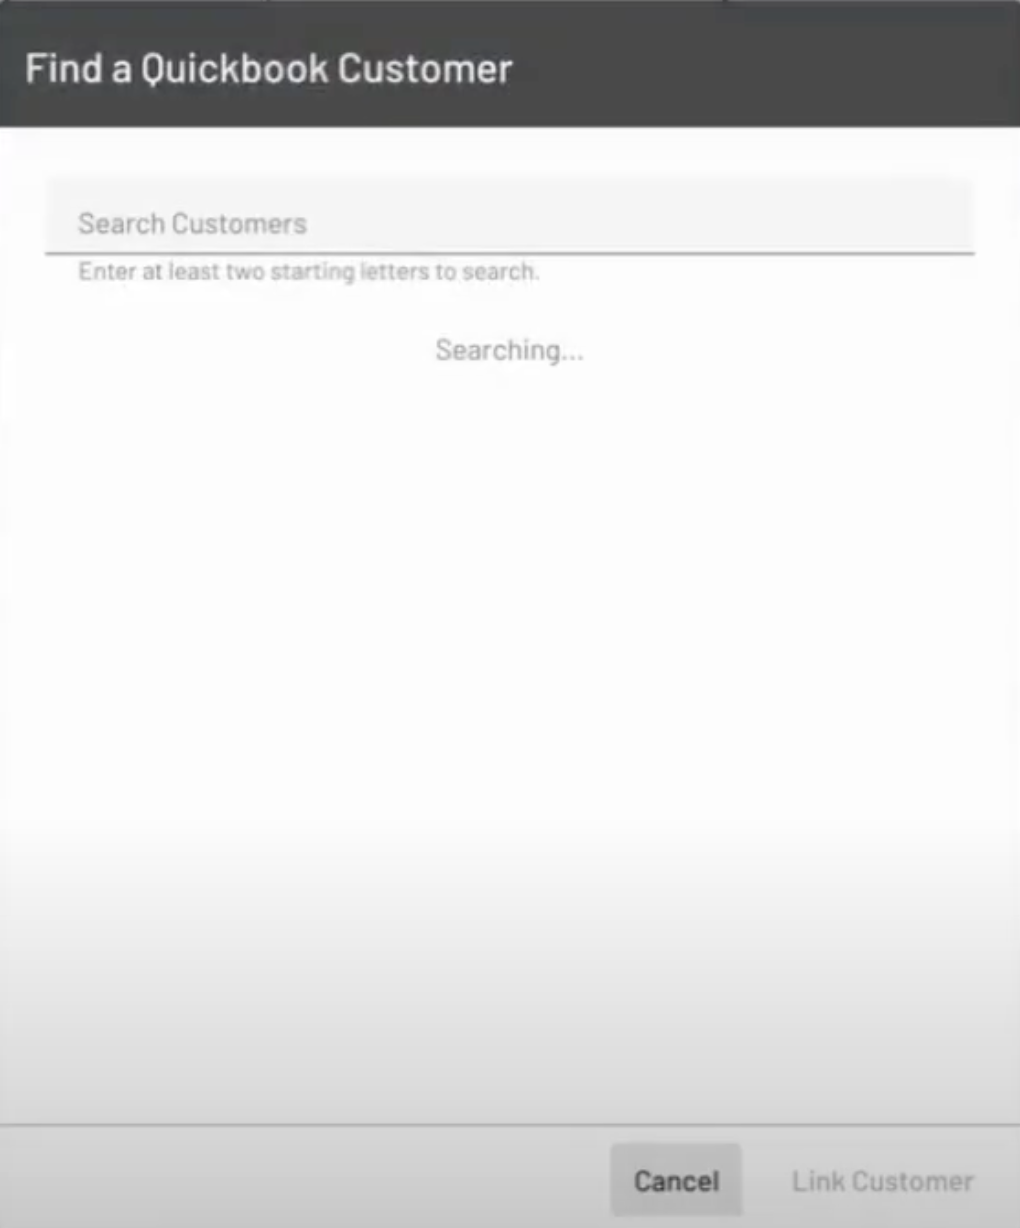
5. Use the form to search for the customer by name or contact number.
6. Once located, click the Link Customer button at the bottom of the form.
The client in EasyEviction is now linked to the corresponding customer profile in QuickBooks.
Step 3: Send an Invoice from EasyEviction to QuickBooks
After linking a client, you can begin sending finalized invoices to QuickBooks.
Please note that draft invoices cannot be pushed.
To send an invoice:
1. On the Open Evictions page, click the Invoices tab at the top.
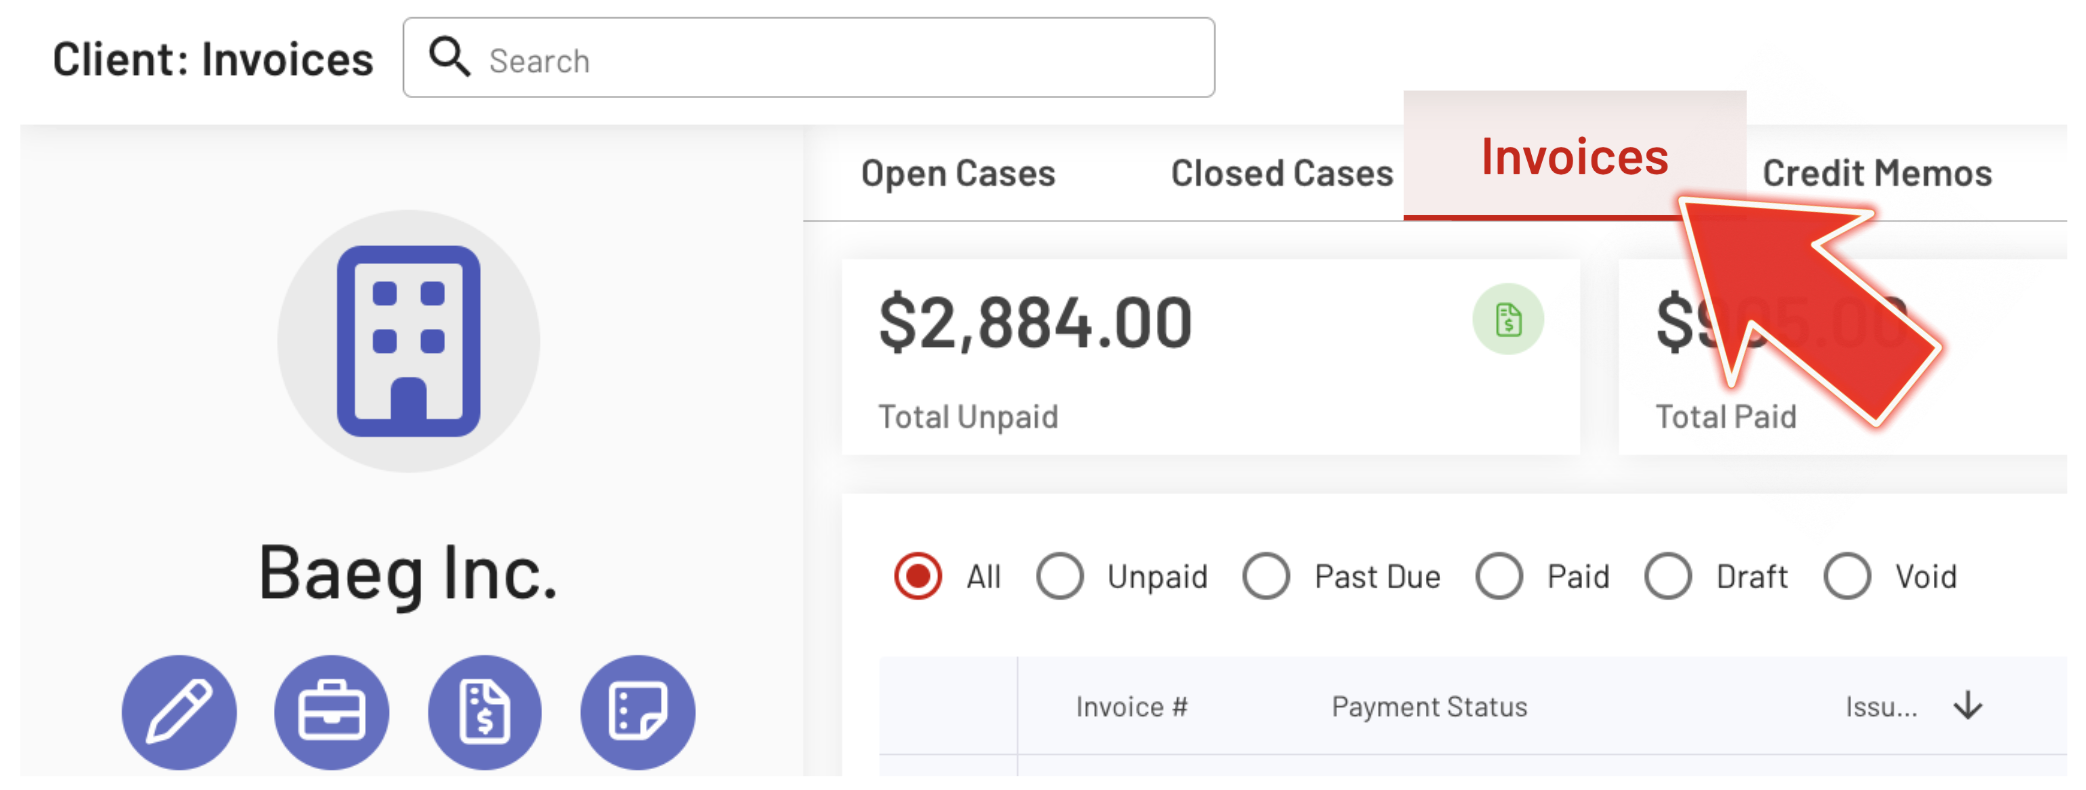
2. Select a finalized invoice that has already been sent to the client.
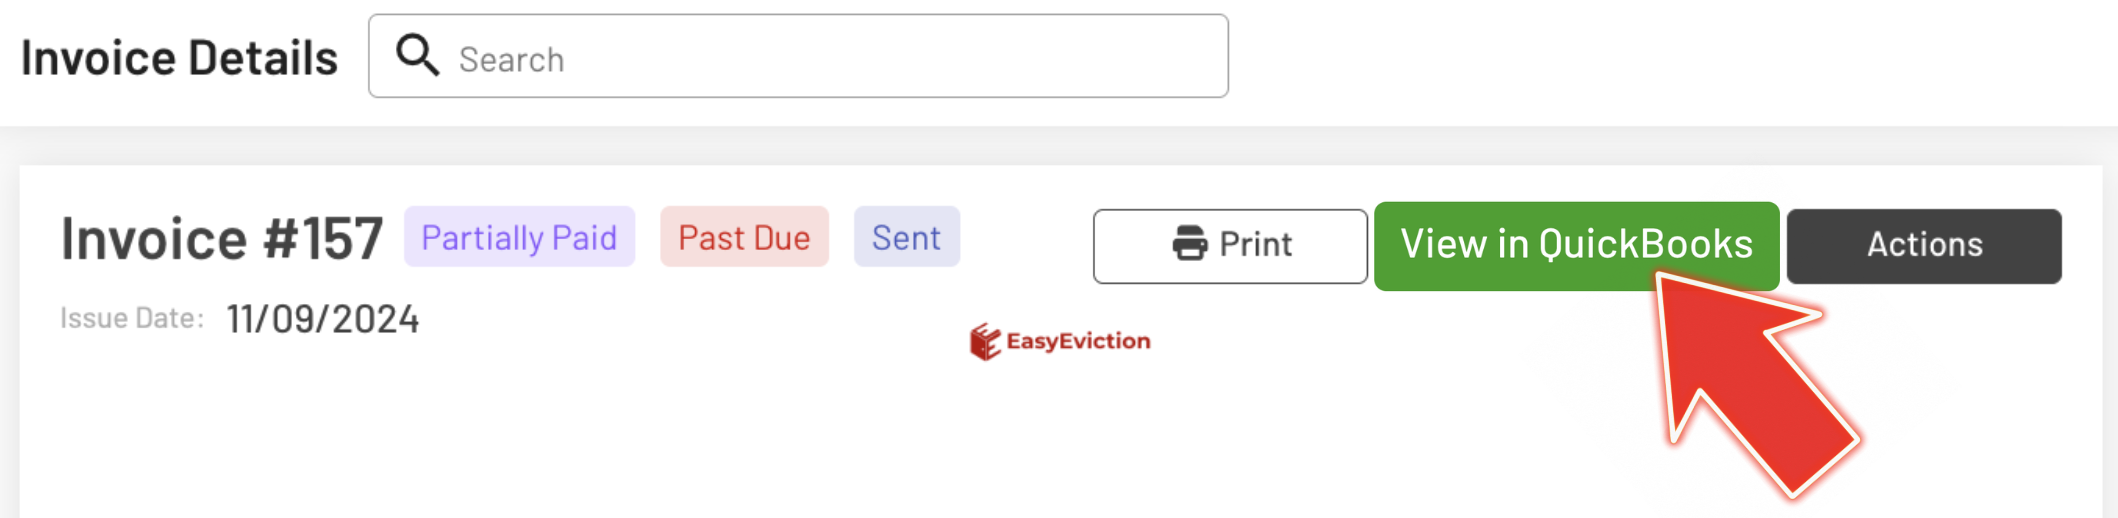
3. You will be directed to the Invoice Details page.
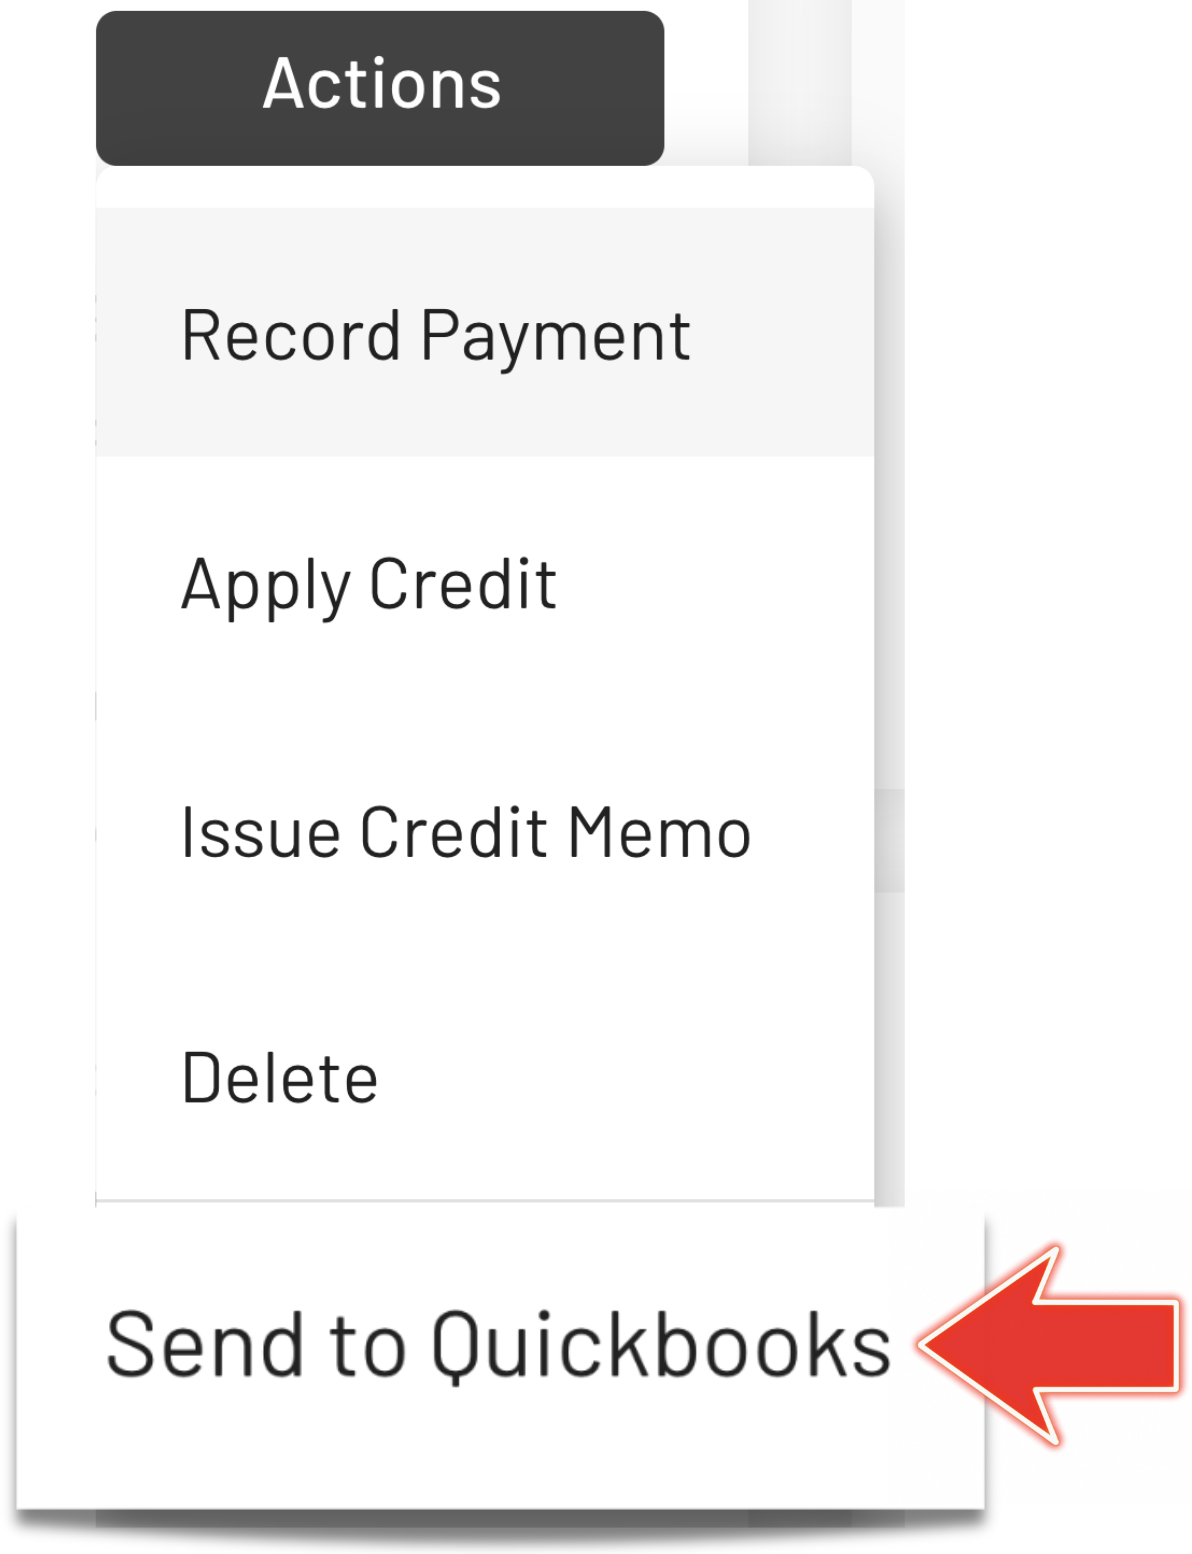
4. Click the Actions dropdown menu and select Send to QuickBooks.
5. Wait for the process to complete.
If the transfer is successful, a View in QuickBooks button will appear. Clicking this button will open the invoice in QuickBooks, provided that you are currently logged into your QuickBooks account.
Managing Invoices After Integration
Once an invoice has been pushed to QuickBooks, additional actions will be available from the Actions dropdown menu in the Invoice Details page.
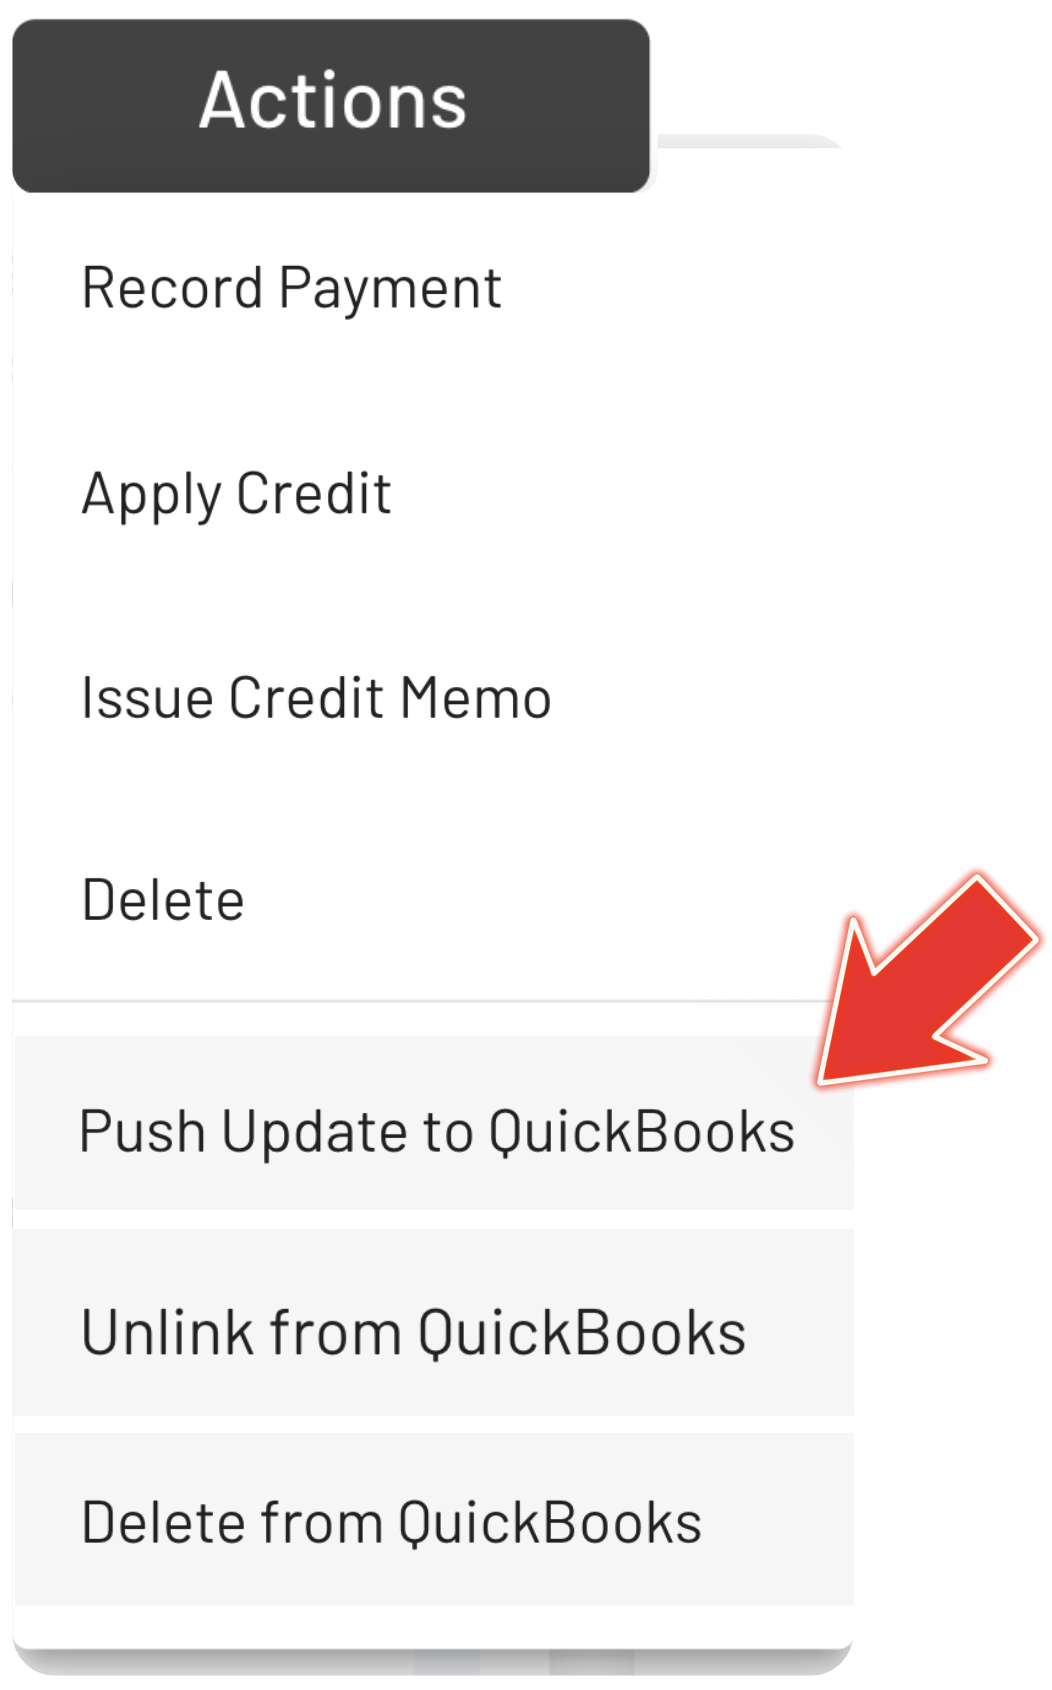
These include:
- Push Update to QuickBooks – Sends any updates made to the invoice in EasyEviction to QuickBooks.
- Unlink from QuickBooks – Removes the connection between the EasyEviction invoice and the QuickBooks version, but retains the invoice in QuickBooks.
- Delete from QuickBooks – Unlinks and permanently deletes the invoice from QuickBooks.
Use these options carefully based on your invoicing and accounting needs.
If you encounter issues during the integration or while managing invoices,
please don’t hesitate to contact EasyEviction for support.