
Permissions Groups
Permission Groups in EasyEviction simplify the management of user access and roles within the platform. These groups allow administrators to assign specific permissions to users, ensuring they have the appropriate level of access to perform their tasks efficiently.
To start Managing Permission Groups, follow the guide below:
On your EasyEviction Dashboard, click the Gear Icon or Settings Widget then Go to Permission Groups under User Settings.
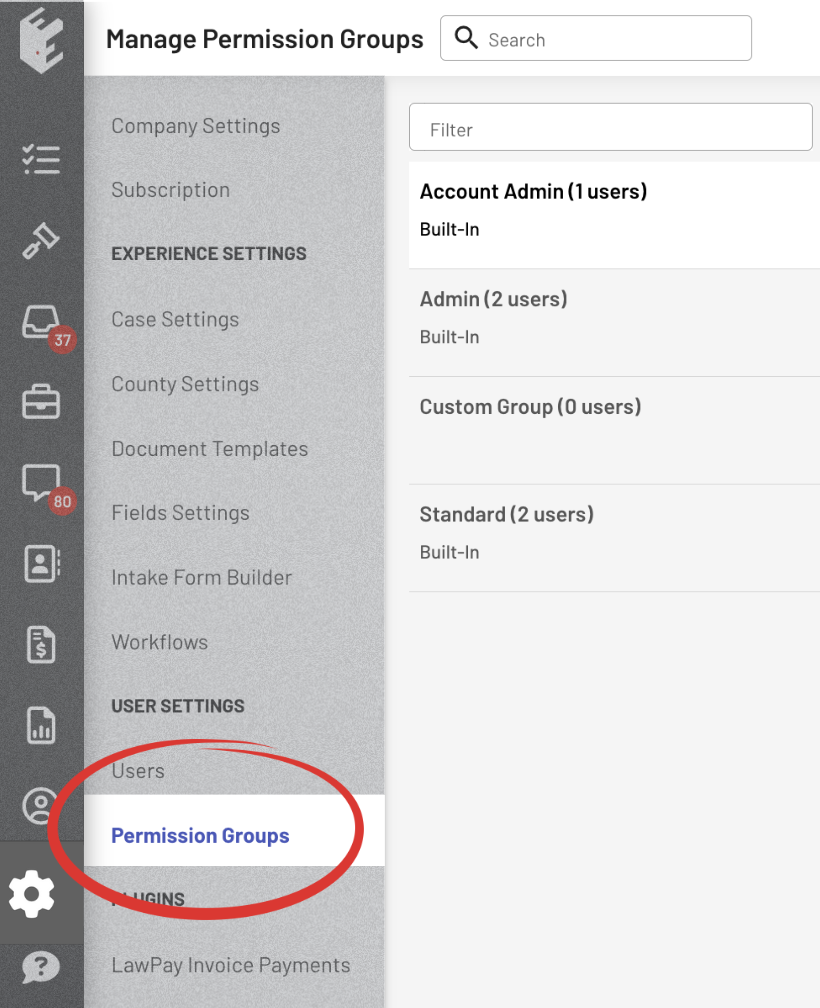
Click on any User (Account Admin, Admin, Custom Group, or Standard) to view the Permission Group Details.
Note: Built-In groups and groups with one or more users assigned cannot be modified.
CUSTOM GROUP (Editable)
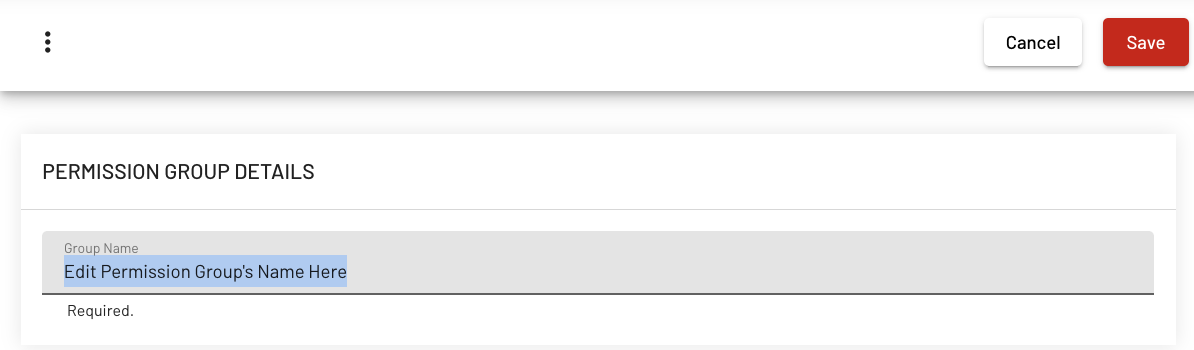
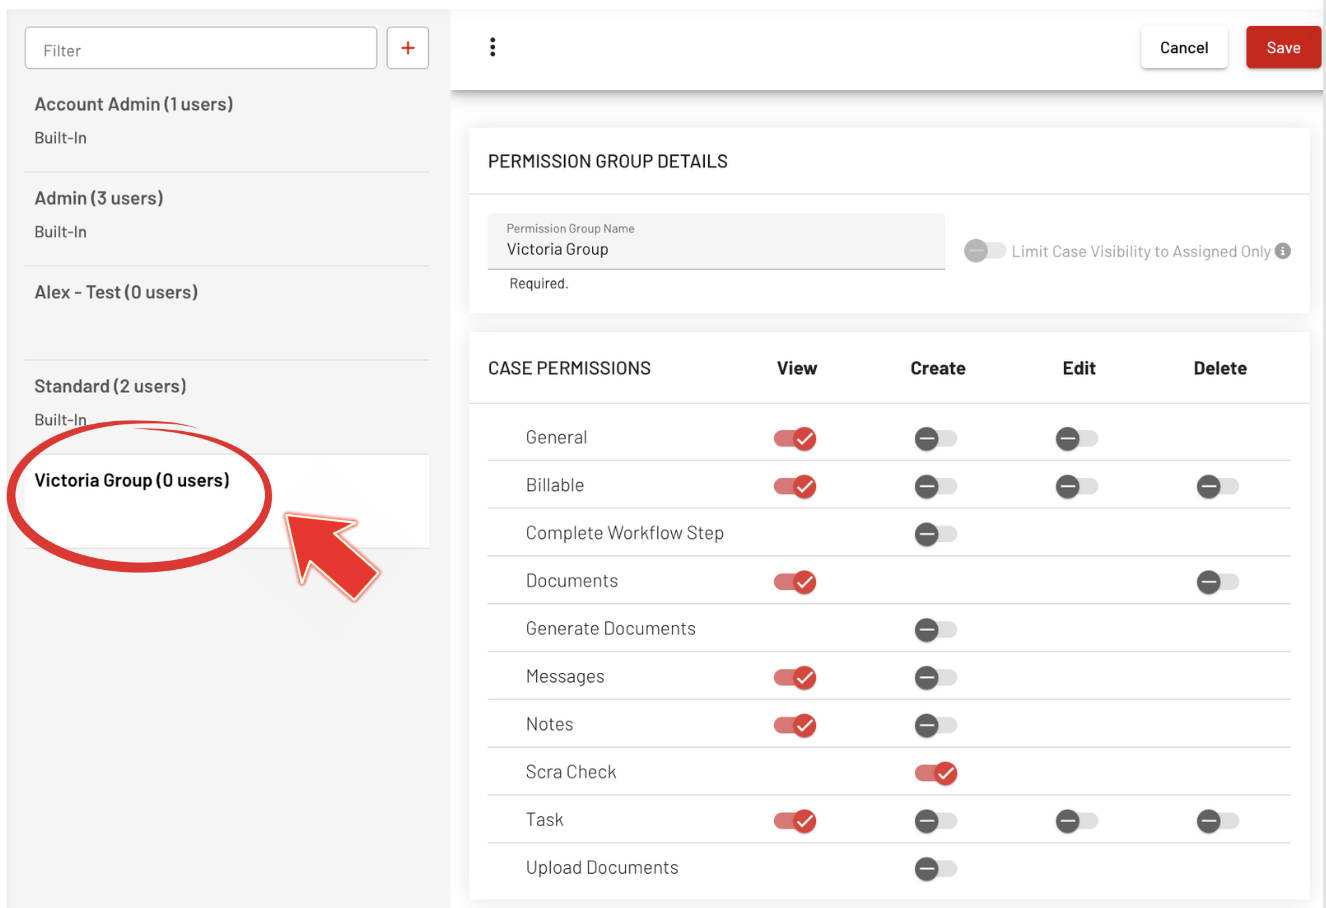
1. Rename Permission Group Name
Customize the Group's Name for the Assigned Custom Group User.
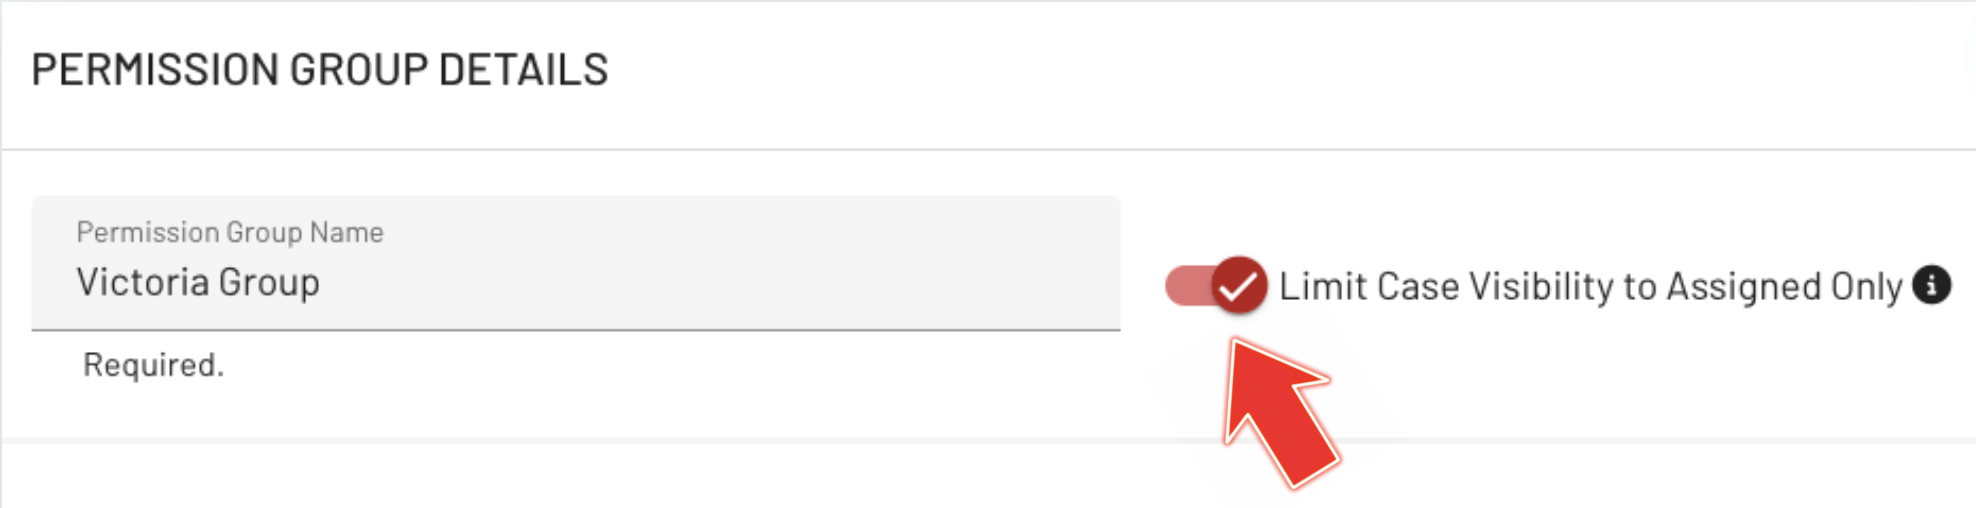
2. Limit Case Visibility
When enabled, users in this permission group will only see cases that are assigned to them.
3. Edit the various permissions in the Custom Group User by toggling the buttons on or off.
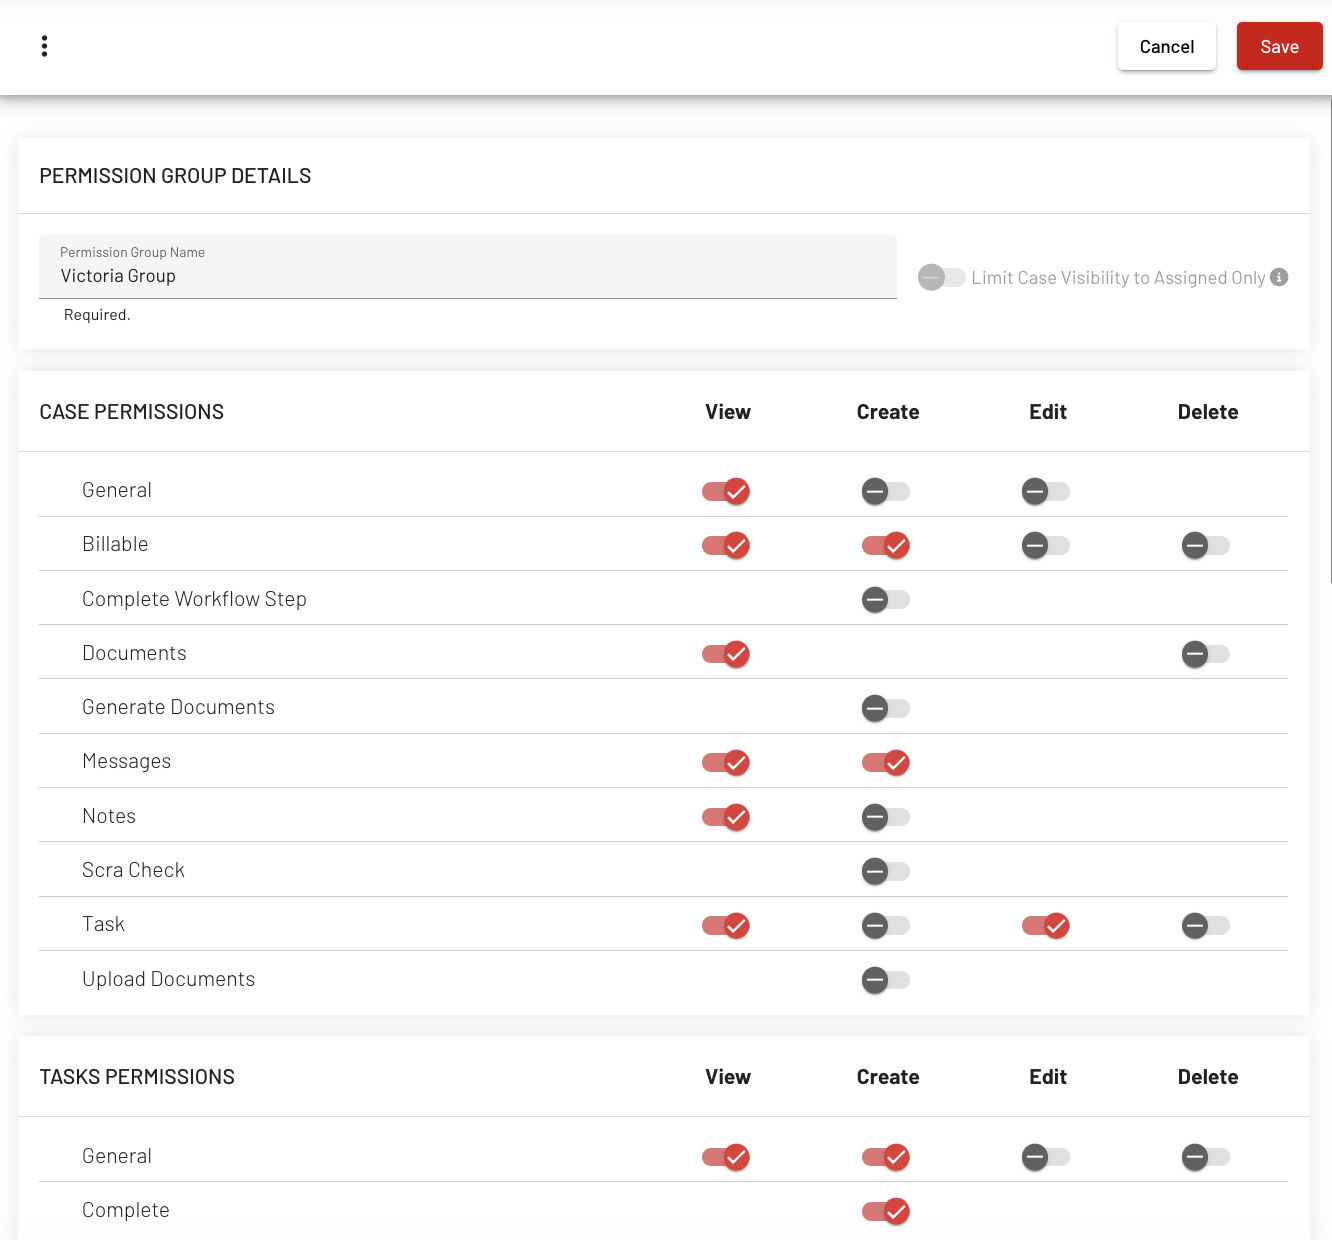
4. After modifying the Permission Group Details, click Save to preserve the changes.
The new Permission Group will be shown on the left pane.
Note: The New Permission Group can be assigned to a User. Learn how to assign a Custom Group to a specific User.
BUILT IN (Uneditable)
Each Permission Group User has different access levels.
- Account Admin
All permissions are enabled.
There can only be one Account Admin and this User has full access to all features, functionalities, and areas covered by these permissions without any restrictions.
- Admin
All permissions are enabled except 'Billing:View/Edit' and 'Company Settings:Edit'.
- Standard/ Non-admin
Permissions under Case, Tasks, Daily Docket, Reports, Inbox, Property Manager, Client, and Invoice are all enabled. However, all Admin Permissions are disabled.
If you have any more questions or need assistance, please contact our dedicated support team for help.